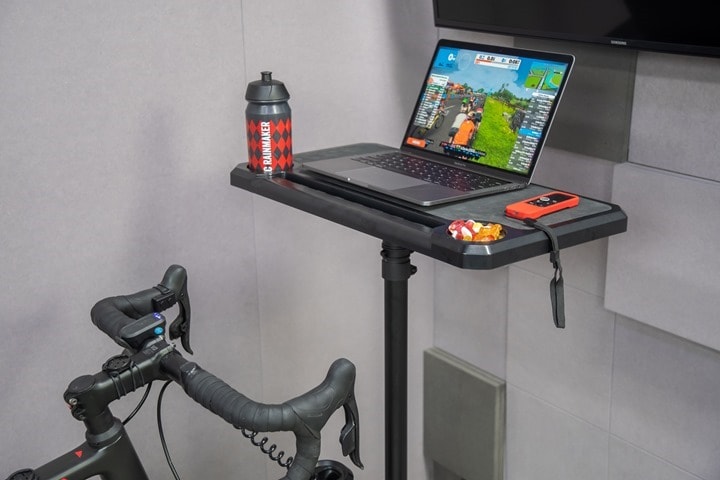
It’s entirely plausible I might be starting to develop a bike trainer desk fetish of sorts. I mean, first there was the Wahoo KICKR Desk, then there was the KICKR desk knock-offs at half the price with more features, now we’ve got the KOM Cycling desk at half that price again, plus there’s also the Saris TD-1 sitting here too with a more fancy look to it. And all that ignores my hideous home-built contraptions over the years.
But I think this one is different. Namely because this one is cheaper. A lot cheaper. At $59 and from a cycling upstart that’s been producing reputable products for a few years now, it seems like it might be a solid option for folks that don’t quite want to part with $120-$250 for the higher end desks, but want something a little more fit-for-purpose than a music stand. Of course, there’s no such thing as a free lunch. So, we’ll get to all the pros and cons compared to the higher priced options.
Thus, for the past month I’ve been using the new KOM Cycling Trainer Desk as my main indoor training desk. I bought it back in early February, while still on pre-order. But just earlier this week they started shipping out units to the masses. While they sent out my unit earlier, it’s from the same production run as everyone else’s units.
With that – let’s dive into it. Given this is basically just three parts stuck together, I’m gonna try and keep this post short. Of course, I’ll inevitably fail at that – but at least I tried.
Note: Right now KOM Cycling says the unit is available during the pre-order phase for $59 (next batch ships next week), but they say that’ll rise to $89USD once production catches up with demand.
Unboxing:
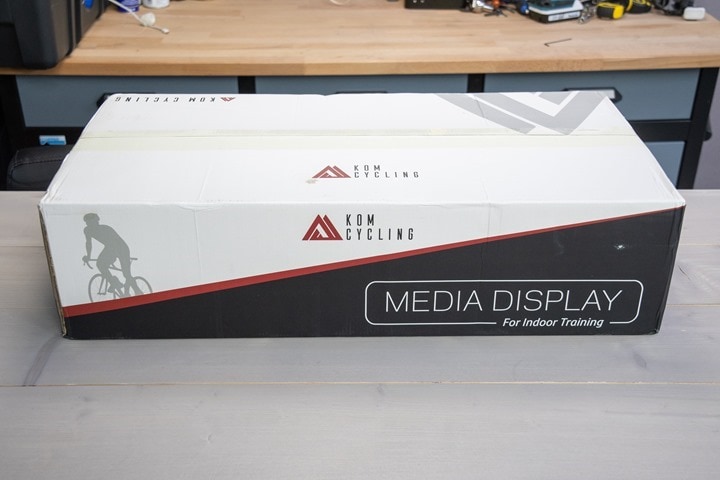
Unlike most trainer desks I’ve unboxed, this unit comes in a surprisingly small box. I guess it’s logical when you consider it essentially has a tripod for a base, and I’ve got plenty of tripods that fit in my backpack. The largest component here being the table-top, which is roughly two laptops worth in size.
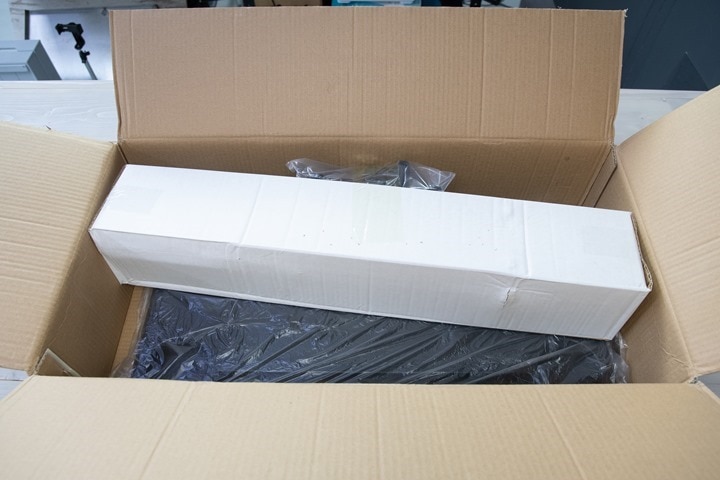
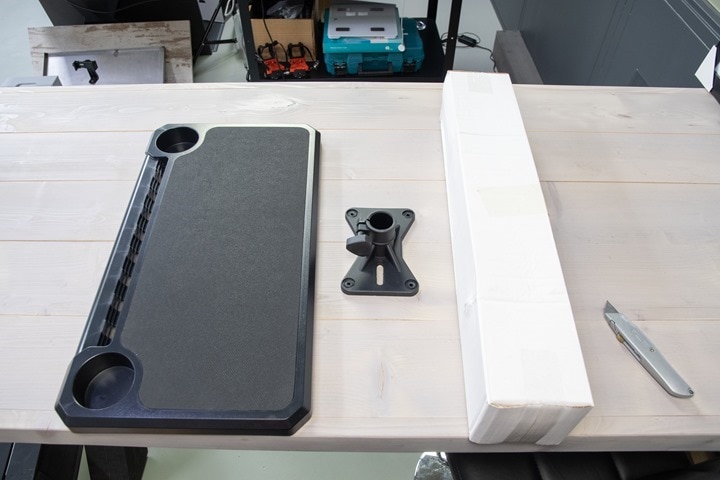
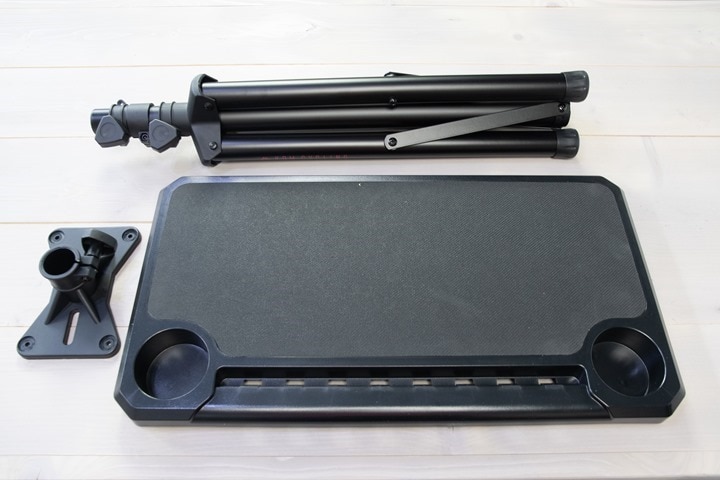
In any case, cracking open the box it’s got another box inside – holding those tripod legs. While the desk hangs out wrapped in plastic. Also, floating in there is the connection point between the two. Somewhat appropriate that a tripod desk has a total of three pieces. Get it…tri…three…oh never mind.
Here’s the three parts on a table:
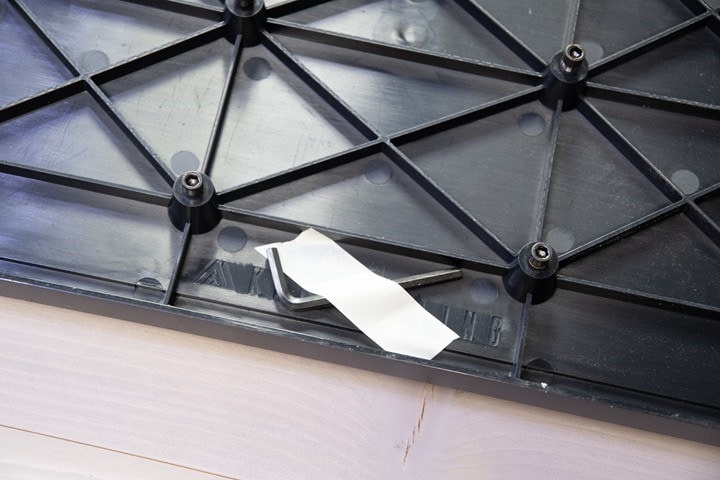
Flip it over and there’s technically a secret 4th piece – the small Allen wrench to tighten the screws on. In the final box version there’s a paper manual, but mine didn’t have the manual slipped inside yet – yours will. It’s just one page.
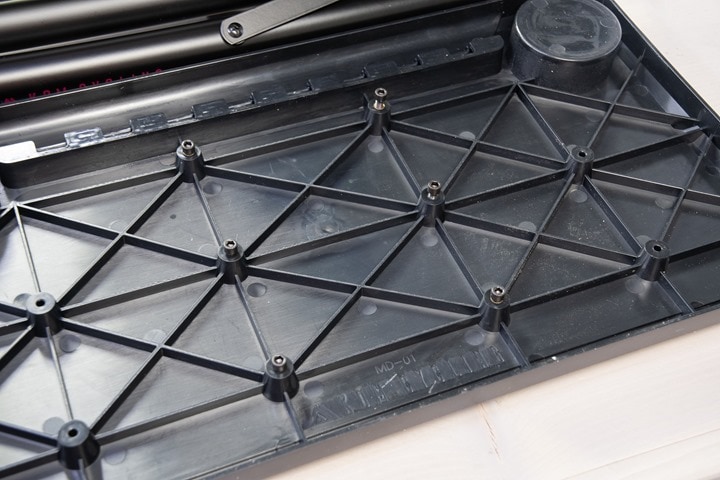
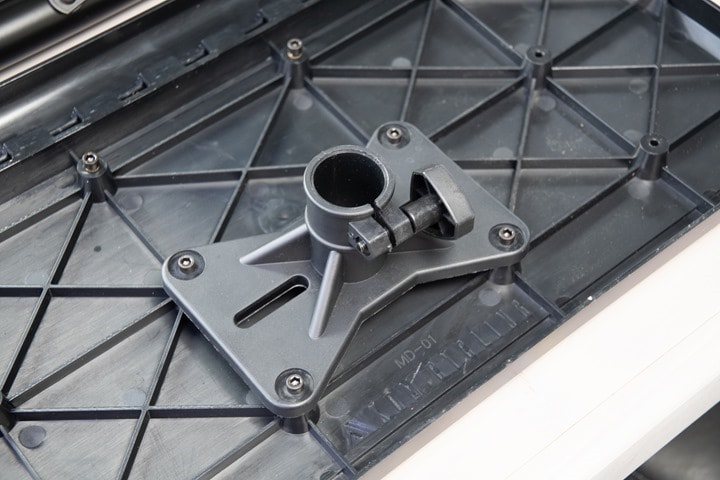
On the bottom you’ll see six screws. you only need four of them. The other two are in case you inexplicably manage to lose half the required screws, you’ve still got enough screws to make it work. With that, go ahead and screw on the mounting head.
You can technically choose whether to screw it towards the front or the rear of the desk. The ‘front’ of the desk is the one with the water bottle holders.
I tried it both ways actually, and actually ended up switching and putting it towards the front, as it worked better for me with a laptop, as the weight distribution was more centered on the stand. Their pictures show the back placement, but I found that gave more flex than I’d prefer. But you do whatever you want. It takes less than 2 minutes to re-do all the screws and move it, if you change your mind.
Next, stick the tripod base into the stand. Despite looking ridiculous, I found this easiest done upside-down.
Simply tighten the knobs by hand to snug it up. And with that, we’re done.
Basics Usage:
While we’ve technically assembled the unit by now, we’ll adjust the height and leg distribution. For the height, it goes from crazy short (34”/86cm) to far higher than I need (50”/127cm). All assuming normal leg spread. This enables me to use it on a variety of bike applications without problems:
Of course, as an adult, you’ve undoubtedly used a tripod in your life. And as a human with such life experiences you’d know that while you can make the leg floor surface area small, it makes the entire setup tipsy. Inversely, you can splay out like ‘that dude’ in the economy airline seat, but that’ll take up more room and make it easy to trip over.
Ultimately, if you follow the three bears model, it works just fine at a reasonable leg-spread distribution:
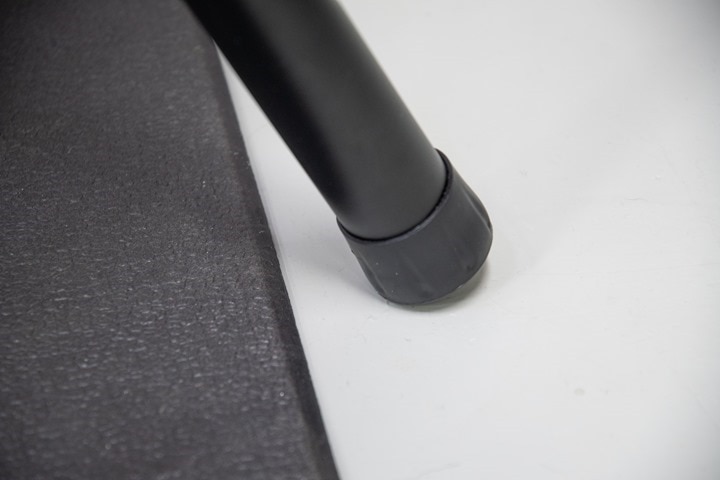
I haven’t tripped or tipped over it yet. Down at the bottom the feet have rubber socks to keep them from slipping:
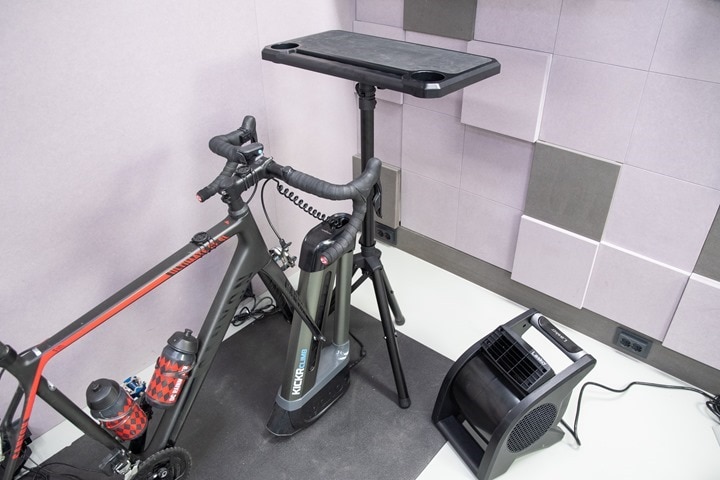
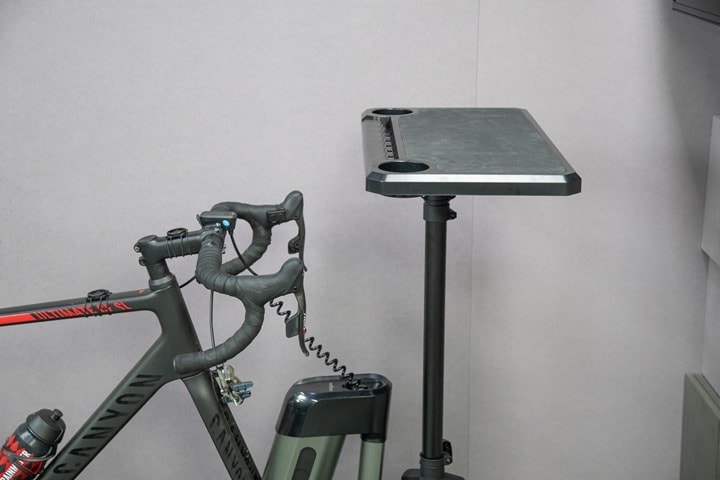
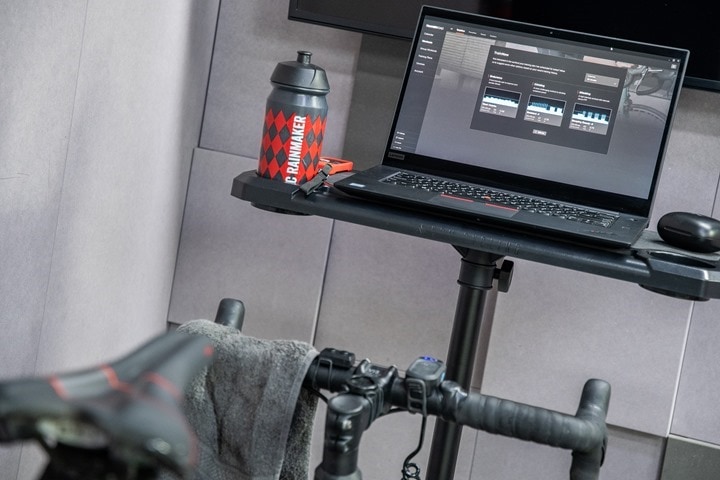
For placement, unlike all the other desks I’ve tried, it doesn’t really fit over your handlebars directly centered, because that’d conflict with your front wheel (or KICKR CLIMB or whatever). However, it’s not actually that bad – it ends up being perhaps half a foot (15cm) away from the end of my handlebars. Well within reach for me – and as a side benefit, it’s not in the sweat zone anymore:
If you were to use the back attachment points, then that buys you about 10cm of gap closing distance, moving it closer to your handlebars (at the expense of a tiny bit of stability with heavier loads).
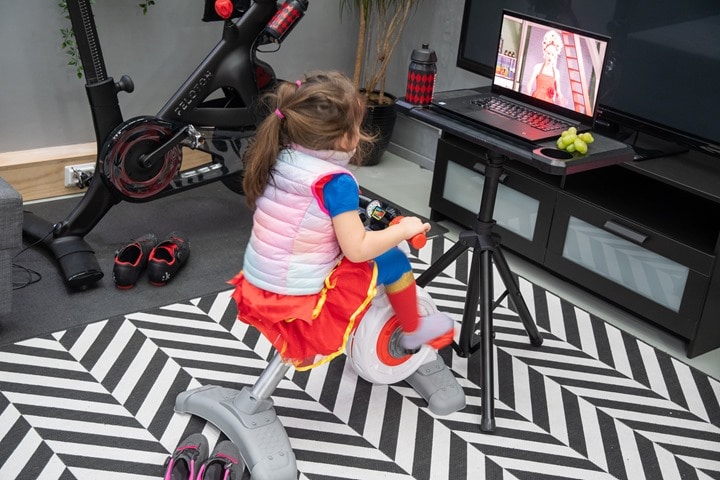
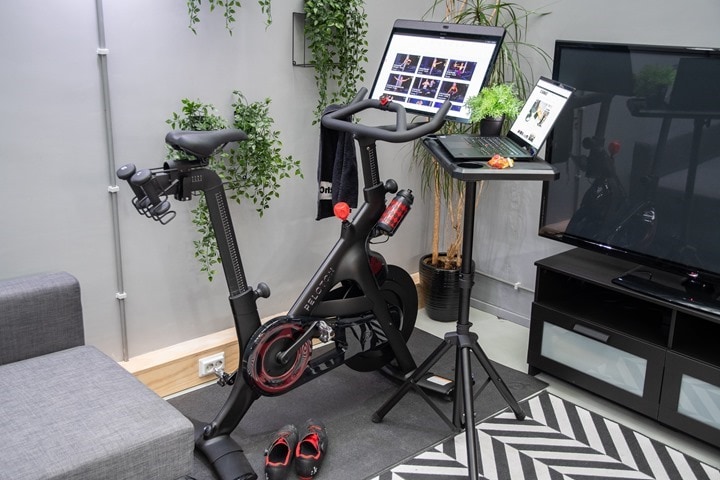
However, off to the side works great too – especially for some smart bikes. For example, on my Peloton bikes, the off to the side spot makes a great space to stash things, since the Peloton bike itself only has two water bottle holders and no other places for phones or small potted plants:
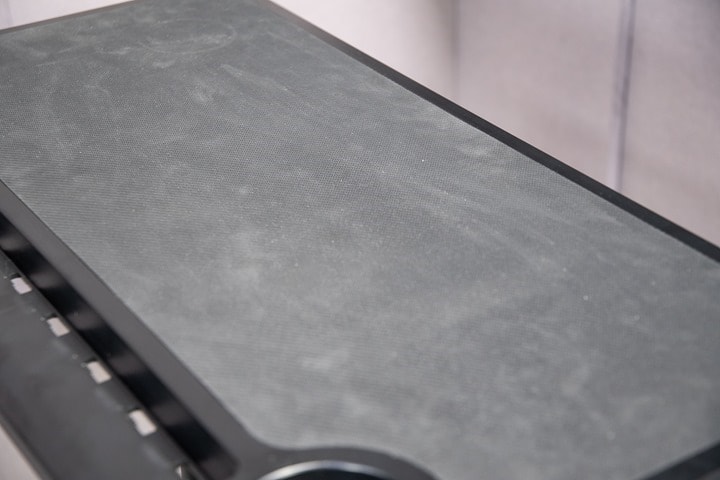
Onto the table top itself, you’ve got the non-slip rubberized surface on the top, so things won’t slide off:
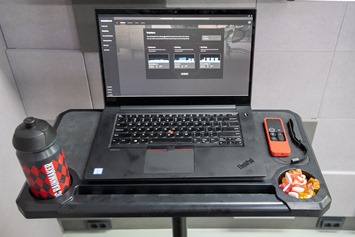
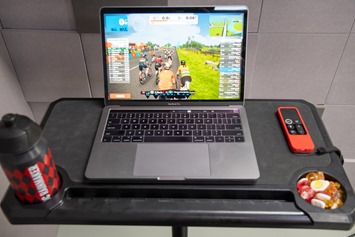
The space is big enough for my oversized laptop to fit with a bit of space on the sides. Or, a more normal sized MacBook fits easily:
The width (left to right) is 24”/61cm, while the length (front to back) is 13”/33cm.
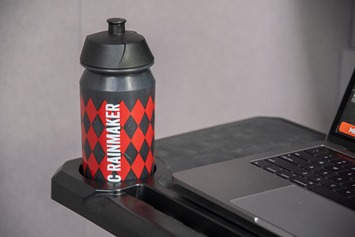
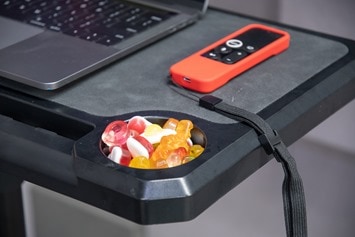
Then there’s two water bottle holders, where you can stash your DCR approved water bottles or other nutrition (or that awesome $8 Apple TV remote case):
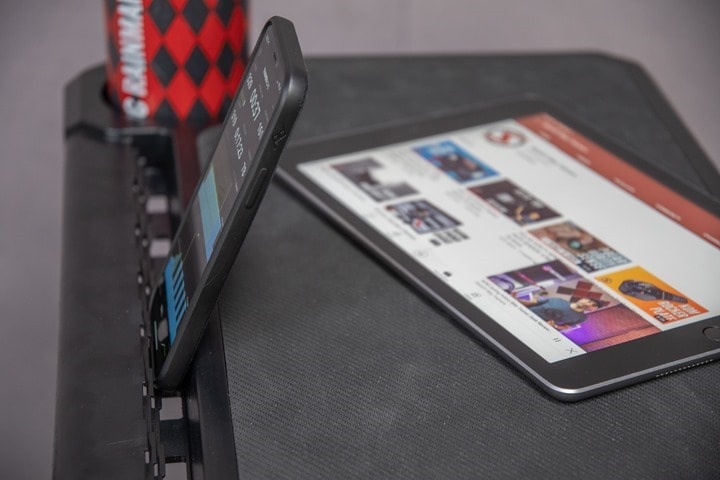
And finally, there’s a tablet slot towards the front. This allows you to slide a tablet or phone in there, and it keeps it upright:
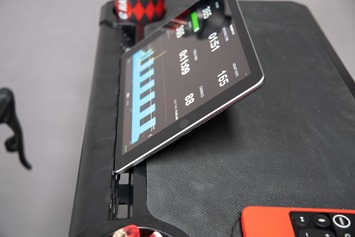
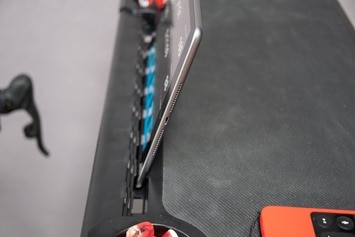
In fact, this is arguably the best tablet design out of any desk I’ve tried. It’s got three ‘levels’ of thickness acceptance in it, so it can actually accommodate phones in cases. Also, it’s got more than enough holes to slide charging cables through too.
In addition to accepting cased devices, the three-tiered slots means you can adjust the tilt if you want to:
Again, in terms of tipsiness, no issues here in using it over the last month, including reaching for gear. From a strength perspective, it’s more than stable enough to hold anything reasonable on the desk itself. However, while I’ve sat on the other desks previously to show strength, this one will easily snap. So I’m not going to do that. I suspect you could technically get that weight distribution perfectly centered and it’d hold it just fine. But my ass is to large to fit perfectly atop the center, and would undoubtedly split the table-top in half when I tried to mount it.
From a materials standpoint, it seems well built. The only complaint I have about my unit though is that the top is not perfectly flush. It’s got a bit of a slight bend to it. If I were to place M&M’s or such on it, they’d easily stay put because they aren’t perfectly round. But if I were to use Maltesers, they’d roll off. Regrettably, the grocery store here did not carry Maltesers, and I had to use imposter Maltesers instead, which lacked the weight and size of the true original. However, it did not lack the rolling properties:
I brought up this critical nutrition-rolling issue to KOM Cycling, and their initial response was “Yikes.. that is an abnormal amount of deflection and substantially different from our recorded measurement of 1-3mm of bend on the production unit”, with a promise to dig into the other units on-hand and see what was up.
That was then followed up a couple days later with an exceptional amount of details and detailed pictures from the assembly line, showing the problem that led to that issue with an injection point in the mold in certain cooling circumstances. They said it it didn’t impact all units, but may have impacted some. They’ve changed their assembly line already, and if people find units with the bowing, they’ll happily replace them.
Beyond that though, everything else seems pretty solid and sturdy. While the top is plastic, the tripod itself is aluminum. Still it’s lightweight and easily portable. In fact, for a number of weekends I simply took the top off and collapsed the tripod legs (a 10-15 second process) and tossed it in the cargo bike along with three kids (one on the back), for the commute home:
This is also useful if you just need to store it out of the way, whereas all the other trainer desks are pretty much solid beasts once assembled (for better or worse).
Comparison:
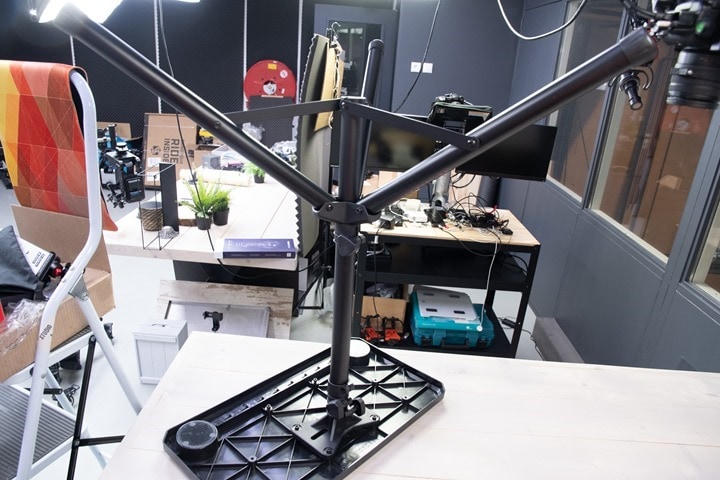
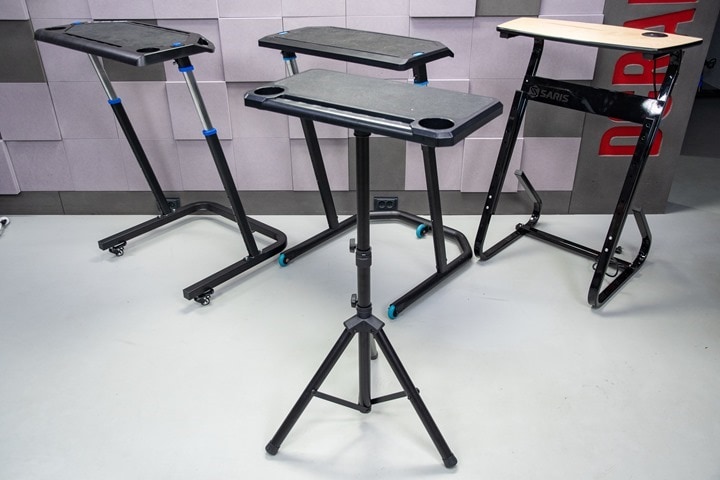
Speaking of those other beasts, here’s a line-up of all my friends (above). As always, they’ve all got their own pros and cons. Here’s a quick table of features between them all. Note that the RAD Cycling Desk is sold under like 20 different names depending on your country (for realz), but since I didn’t want to create a header row with 20 titles, I’ve just shortened it to one. It’s all identical.
Ultimately, I suspect most people will settle between the KOM Desk and the RAD Cycling Desk. Though, I’m less convinced of the KOM Desk at $89 than I am at $59. To me, the added stability and ability to place it over your wheel fully, for $30 between the KOM and RAD Cycling Desk is worth it for the larger desk. Though, it’s of course less portable/storable.
While the RAD Cycling Desk can seem tricky to find, in reality it’s always available for stock each week at the usual $119 price – usually mid-week. And then it spikes again for the weekends (true of both US and European sites – which I’ve been tracking for months now).
Now if we’re talking $59 for the KOM Cycling vs basically double that for the RAD Cycling – then that’s a much harder sell for the RAD Cycling Desk. But again, to each their own.
Wrap-Up:
Ultimately, I’m pretty darn happy with this for the price (at least at $59). Like I said above, at $89 it’s still a good value, but would give me a touch bit of pause. The components are well made without being overkill, and for those looking for a solution that’s easily stored out of the way, there’s no better cycling-specific option than this. A couple seconds and it’s folded up and easily slid under a couch or into a closet – taking up far less footprint than your trainer, bike, or fan.
Certainly, it’s not as heavy duty or tip-proof as the other options out there. So if you’ve frequently got small children poking at your setup (or curious climbing pets), you might want to consider either splaying the legs out a bit more for more stability. But I didn’t have any problems with that, or with myself bumbling into it. As for the build material, again, it’s not overkill, but it doesn’t seem cheap either. It seems right-sized for the price and what you’re using it for. Most of us won’t be riding the trainer desk, but rather, the bike.
I suspect for me this will actually get put into normal service either at the shed at home (where space is at a premium), or, next to the Peloton bike (as a place to stash stuff during a ride). Of course, most people don’t have numerous other trainer desks floating around, so I can be a bit picky on my applications. But given I’ve used it as my primary trainer desk over nearly the last month, I certainly wouldn’t hesitate to use it as my main desk if need be.
With that – thanks for reading!
Found This Post Useful? Support The Site!
Hopefully you found this review useful. At the end of the day, I’m an athlete just like you looking for the most detail possible on a new purchase – so my review is written from the standpoint of how I used the device. The reviews generally take a lot of hours to put together, so it’s a fair bit of work (and labor of love). As you probably noticed by looking below, I also take time to answer all the questions posted in the comments – and there’s quite a bit of detail in there as well.
If you're shopping for the KOM Cycling Trainer Desk or any other accessory items, please consider using the affiliate links below! As an Amazon Associate I earn from qualifying purchases. It doesn’t cost you anything extra, but your purchases help support this website a lot. Even more, if you use Backcountry.com or Competitive Cyclist with coupon code DCRAINMAKER, first time users save 15% on applicable products!
And of course – you can always sign-up to be a DCR Supporter! That gets you an ad-free DCR, access to the DCR Quarantine Corner video series packed with behind the scenes tidbits...and it also makes you awesome. And being awesome is what it’s all about!
Thanks for reading! And as always, feel free to post comments or questions in the comments section below, I’ll be happy to try and answer them as quickly as possible. And lastly, if you felt this review was useful – I always appreciate feedback in the comments below. Thanks!




0 Commentaires